Secure Your Home: A Handy Guide to Door Lock Replacement and Jamb Repair
Introduction:
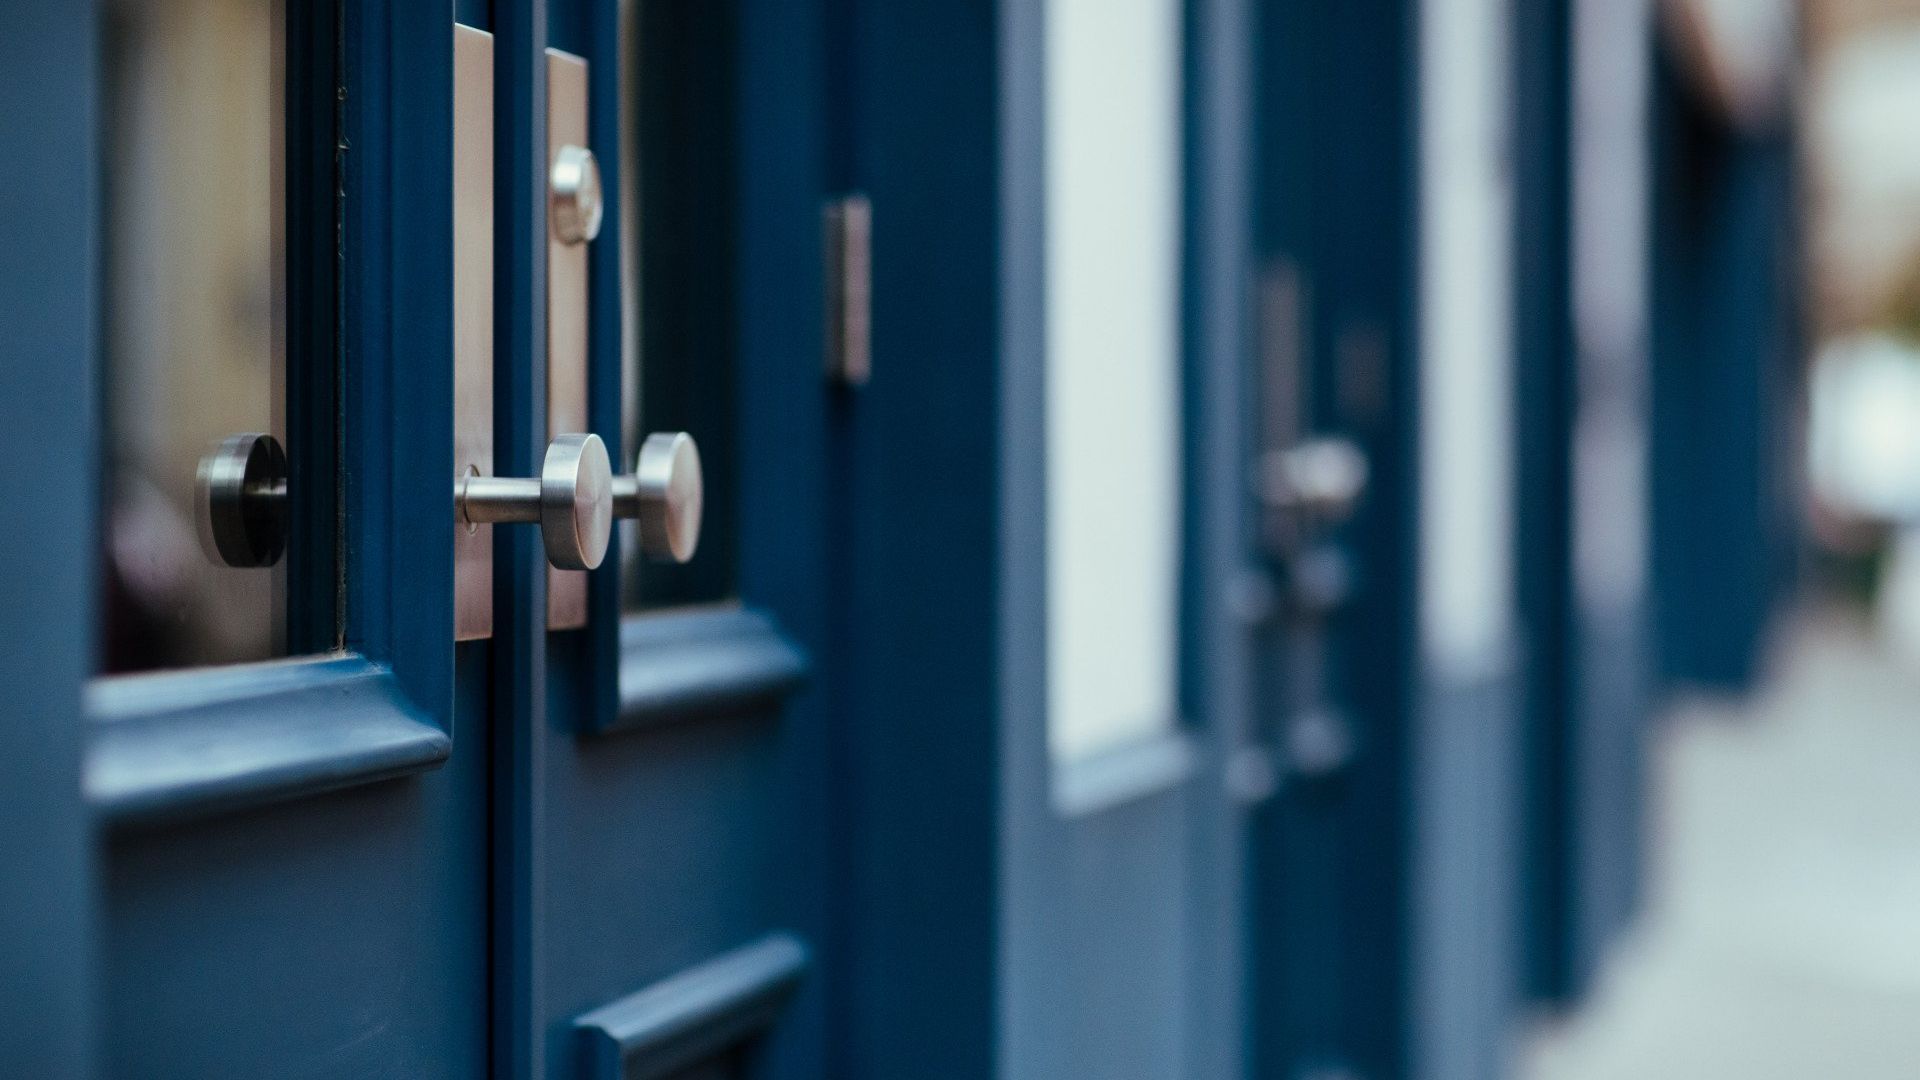
Your home is your sanctuary, and the integrity of your doors is the frontline of your home's security. Over time, door locks and frames endure wear and tear, which can compromise the safety of your home and family. Whether it's due to the natural aging process, weather damage, or the aftermath of a break-in, there comes a time when replacing a door lock and repairing the jamb becomes necessary. In this guide, we'll walk you through the signs that indicate the need for replacement and repair, how to choose the right lock for your home, and when it's time to roll up your sleeves or call in the pros from HandiestPro.
Section 1: Signs You Need a New Door Lock
Your door lock is a small component that plays a significant role. Here are some tell-tale signs that it's time to consider a lock replacement:
- Difficulty Locking and Unlocking: If you're struggling to turn the key in your lock, it could be a sign of a worn-out lock mechanism or a misaligned bolt and strike plate.
- Visible Wear and Tear: Locks can corrode, rust, or get damaged over time. If you notice visible deterioration, it's time for an upgrade to ensure your lock's integrity isn't compromised.
- Recent Break-In or Attempt: After a break-in or an attempt, it's wise to change your locks to newer, more secure options as a precaution and to restore your peace of mind.
- Outdated Locks: Lock technology has advanced significantly. If your locks are several decades old, they might not offer the security features that newer models do.
- Lost Keys: If you've lost your keys or moved into a new home, replacing your locks is a good practice to ensure that only you have access.
Recognizing these signs early can be the difference between a secure home and a potential security risk. In the next sections, we'll guide you through selecting a new lock and tackling the replacement process.
Section 2: Choosing the Right Lock for Your Home
When it comes to the safety of your home, the right lock can make all the difference. Here's how to ensure you pick the best one:
- Assess Your Security Needs: Consider the level of security you desire. A higher-grade lock might be necessary for exterior doors, while interior locks can be of a lower grade.
- Understand Lock Types:
- Deadbolts are a popular choice for exterior doors due to their strength and simplicity.
- Smart locks offer convenience and control through smartphones or codes, adding a layer of tech security.
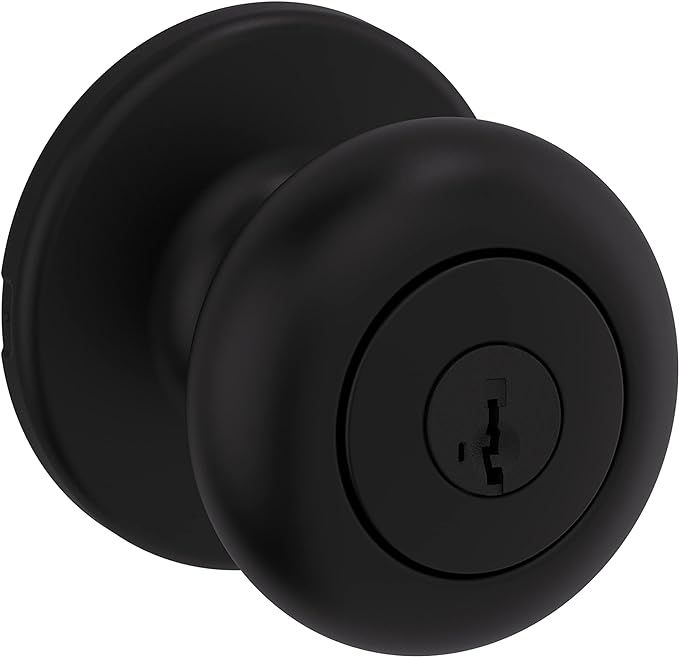
- Knob locks are common but not as secure on their own; they're better suited for interior doors.
- Look for Security Standards: Check if the lock meets ANSI (American National Standards Institute) security standards. An ANSI Grade 1 is considered the best for residential security.
- Consider the Lock's Aesthetics: The lock should match your door's style and your home's aesthetic. Today's locks come in various finishes and designs to complement your home's look.
- Key Control: If you want to prevent unauthorized key duplication, look for locks with patented key control systems for added security.
When replacing locks we like to use Smartkey locks for easy key changes in the future. Click the button below to see some of our recommendations.
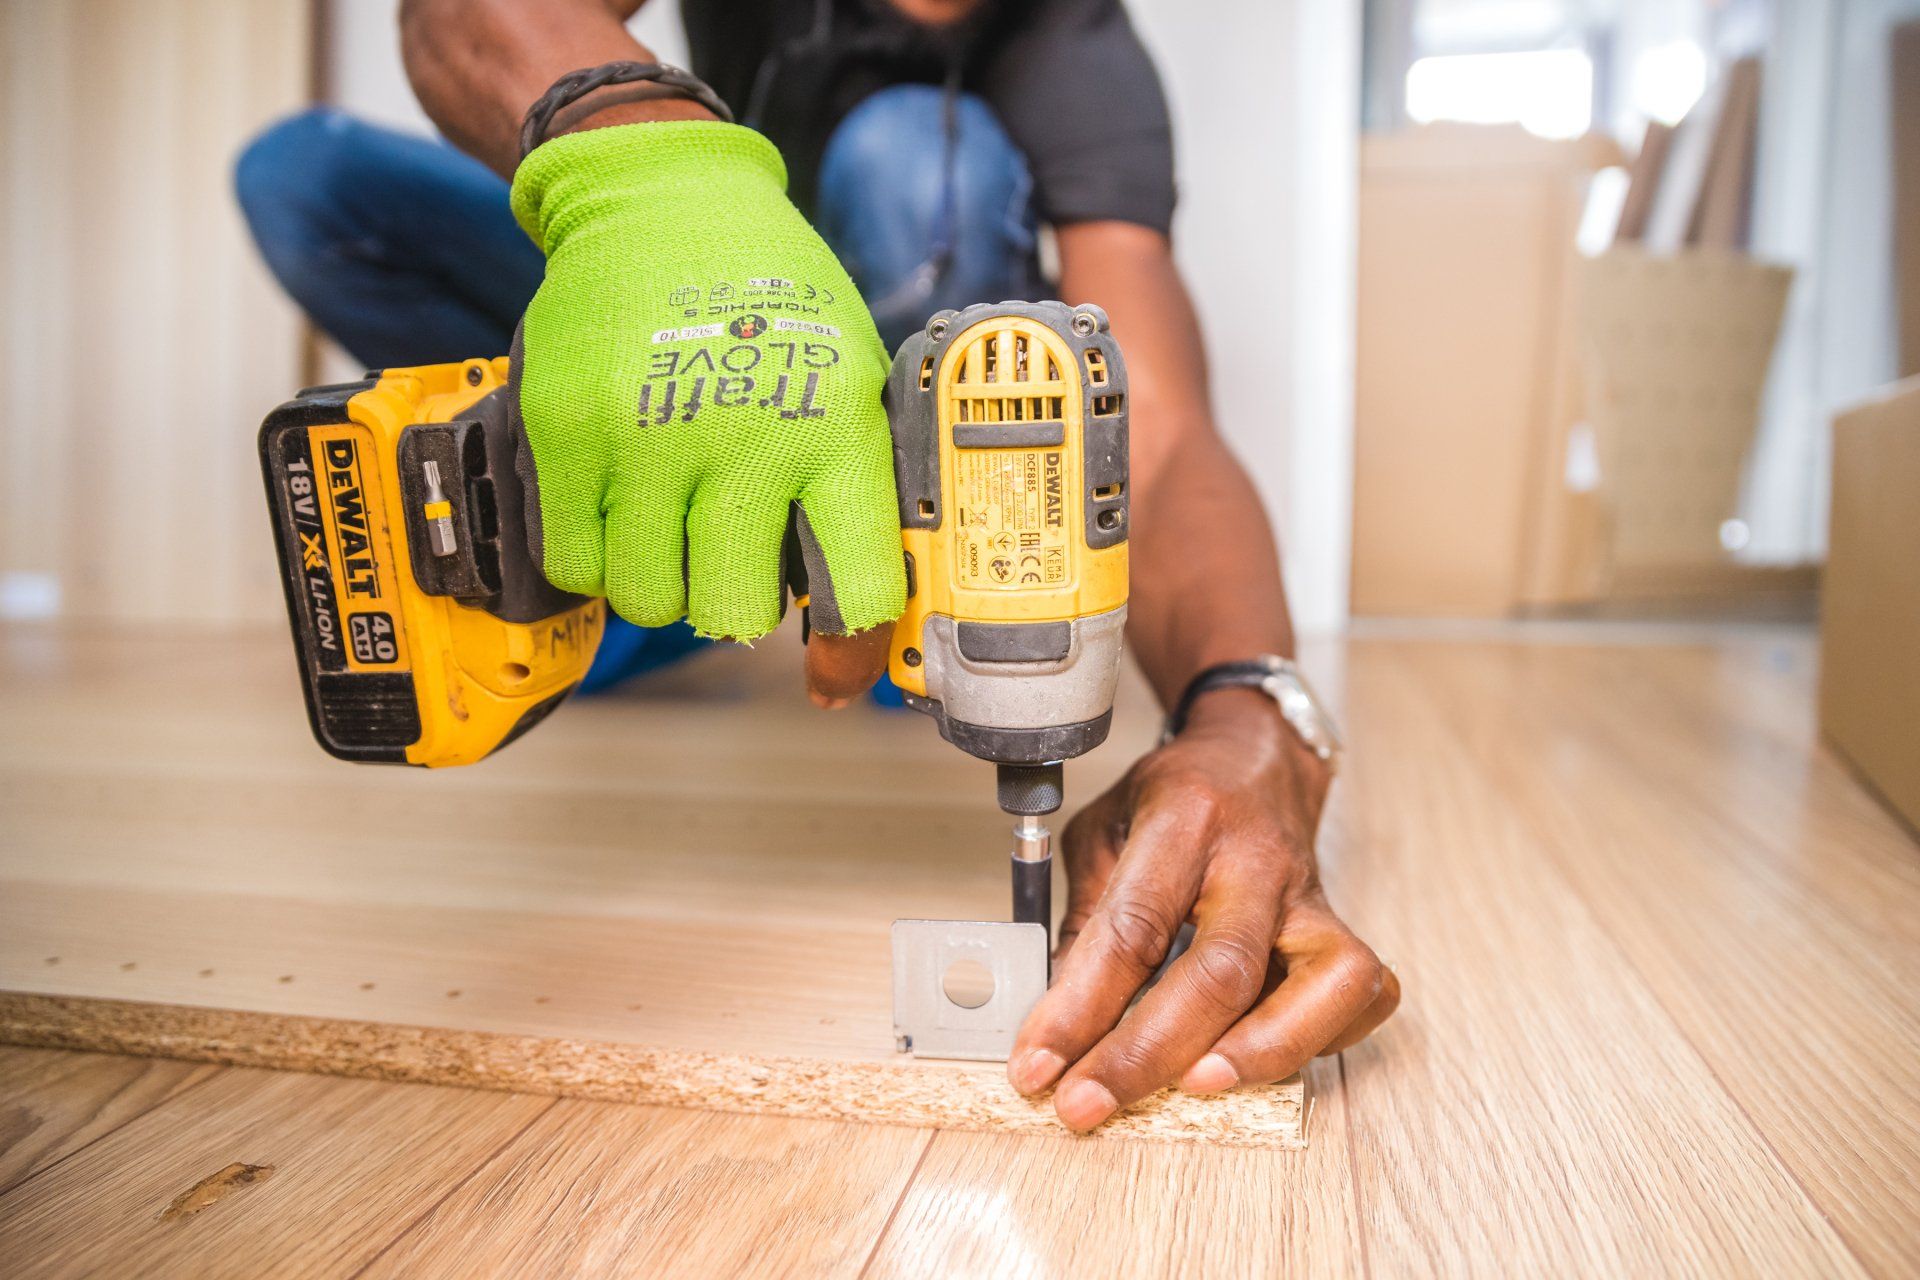
Section 3: DIY Door Lock Replacement
Replacing a door lock is a manageable task for most DIY enthusiasts. Here's how to do it:
- Gather Your Tools: You'll need a screwdriver, a new lock set, and possibly a chisel and hammer if adjustments are needed.
- Remove the Old Lock: Unscrew the old lock from the door, including the handle and deadbolt mechanism.
- Insert the New Deadbolt: Fit the new deadbolt into the hole, making sure it's aligned with the keyhole and the bolt moves smoothly.
- Install the New Handle: Place the new handle, ensuring the locking mechanism is on the correct side of the door.
- Test the Lock: Before closing the door, test the new lock with the door open to ensure the latch and bolt align properly with the frame.
- Make Adjustments: If the new lock doesn't fit perfectly, you may need to widen the holes with a chisel and hammer or adjust the strike plate.
- Final Testing: Close the door and test the lock several times to confirm that it locks and unlocks smoothly.
Remember, while replacing a lock is a straightforward process, it's crucial to ensure that it's done correctly to maintain your home's security. If you're not confident in your DIY skills, or if you encounter any issues, HandiestPro is here to help.
Section 4: When to Repair Your Door Jamb
The door jamb is the vertical portion of the frame onto which a door is secured. It's essential for the proper functioning and security of your door. Here's how to tell when it might need some attention:
- Visible Damage: If there's visible damage such as cracks, splits, or dents, it's time for a repair. These can weaken the structural integrity of the frame.
- Difficulty Closing the Door: When your door doesn't close easily or there's a noticeable gap between the door and the frame, the jamb may be out of alignment.
- Loose or Wobbly Hinges: Hinges attached to a damaged jamb can become loose over time, affecting how the door hangs and locks.
- Signs of Forced Entry: If there's been an attempted break-in, the jamb can be one of the first places to get damaged.
Section 5: DIY Door Jamb Repair
Repairing a door jamb can be a bit more complex than replacing a lock, but here are some steps for minor repairs:
- Assess the Damage: Small cracks or splits can often be filled with wood filler or putty, while larger damage may require more extensive repairs.
- Remove the Door: To properly repair the jamb, you'll need to remove the door by taking out the hinge pins.
- Clean and Prep the Area: Remove any debris from the crack or split. Sand the area lightly if necessary to ensure the filler adheres properly.
- Apply Wood Filler: Fill the damaged area with wood filler, following the manufacturer's instructions. For larger gaps, you may need to use a wood piece or shim.
- Sand and Finish: Once the filler is dry, sand the area smooth and finish with paint or stain to match the existing jamb.
- Reattach the Door: Once the jamb is repaired and dry, reattach the door and ensure it opens and closes smoothly.
Section 6: Recognizing When It's Time to Call a Professional
While minor repairs can be a DIY project, significant damage to a door jamb might require a professional's touch. Here's when you should consider calling HandiestPro:
- Extensive Damage: If the structural integrity of the jamb is compromised, it's best to have a professional assess and repair it.
- Security Concerns: A damaged jamb can be a security risk. Professionals can ensure that repairs are done correctly to maintain the safety of your home.
- Lack of Proper Tools: If you don't have the necessary tools or are unsure about the repair process, it's safer and more efficient to hire a professional.
- Time Constraints: If you're short on time, a professional can complete the job quickly and efficiently, with the added benefit of a service guarantee.
Conclusion:
Whether you're a seasoned DIYer or you're facing a door issue that's out of your league, it's important to know when to tackle a project yourself and when to call in the experts. HandiestPro is always ready to step in with the right tools, expertise, and a commitment to your home's security and your peace of mind.
If you're unsure about the condition of your door locks and jambs, or if you've decided it's time for a professional upgrade, reach out to HandiestPro. We offer comprehensive door services that ensure your home is secure. Contact us today for a consultation or to schedule a repair.